Google App Engine is a Google Cloud service which lets you to deploy your web site or web application and share it with other world in a very simple way without carrying about all these complicated server stuff and infrastructure.
In this guide we will deploy our own app, the whole process can be described in a few steps:
1. Create app
2. Test app on your local computer
3. Create a Google Cloud Platform project
4. Install Google Cloud SDK on your computer
5. Deploy your app on Google App Engine
Let’s create a very simple Flask project – it will consist of just a few files:
main.py – backend of our app (Flask),
index.html – frontend of our app (it should be placed to “templates” folder),
requirements.txt – file with list of python packages which should be installed,
app.yaml – configurations for Google App Engine. In out case they are just saying that App Engine should use Python 3.8 in order to be able to run our app.
from flask import Flask, render_template
app = Flask(__name__)

@app.route("/")
def main():
    return render_template("index.html")

if __name__ == "__main__":
    app.run()
<!DOCTYPE html>
<html>
<body>
<h1>Hello world!</h1>
</body>
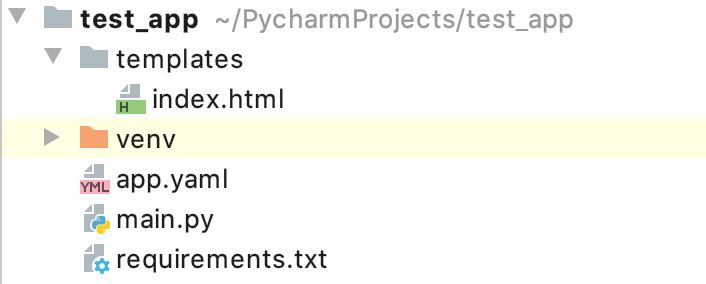
</html>flaskruntime: python38The structure of the project should look like this (I am using PyCharm):
Let’s try to run our app locally first. In order to do that – you need to have Flask package installed. If you haven’t – you can do this by running pip install Flask command in your console. After Flask been installed – try to run main.py. An output should look like this:
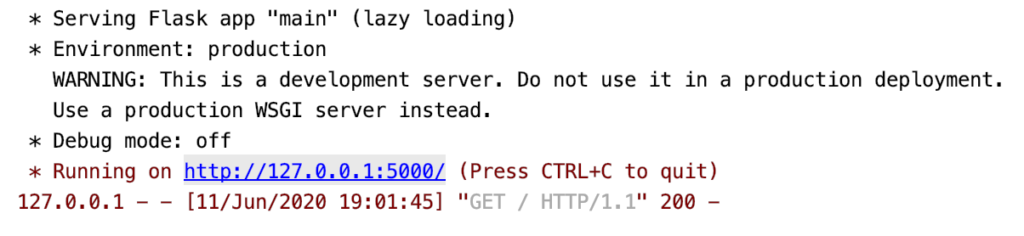
That means that your app is running now. You can see it – just type http://127.0.0.1:5000/ in your browser:

If you have the similar result – congratulations. But currently the app is available only for you on your local computer, it is not available for other people in worldwide web. But you can change it by deploying app on Google App Engine. In order to do that – you should have at least one Google Cloud project. If you don’t have any – go to https://console.cloud.google.com/, follow the instructions and create one.
Now let’s install Google Cloud SDK which lets us to communicate with GCP services from our local console. Just follow the installation instructions from this documentation:
https://cloud.google.com/sdk/docs/downloads-versioned-archives
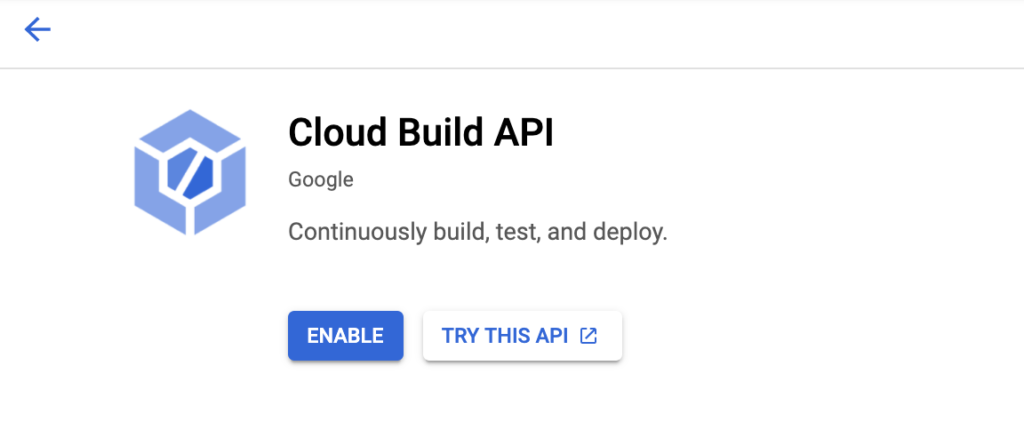
Don’t forget to enable Cloud Build API – this service is responsible for deploying your app on Google App Engine:
https://console.cloud.google.com/marketplace/product/google/cloudbuild.googleapis.com
Now go to your console and use this command in order to initialise Google Cloud:
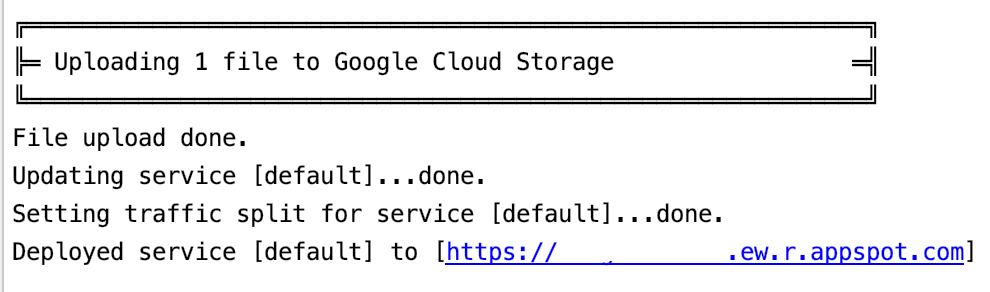
gcloud initYou should see some authentication flow, pick appropriate project id, zone etc. After that you can deploy your app by a simple command:
gcloud app deployIt should start the process of uploading files of your app to GCP and the deploying of your app. As a result you should get a link to your application:
That’s all! Now your application works and anyone who knows the link can access it. If you want – you can map a custom domain to your app.
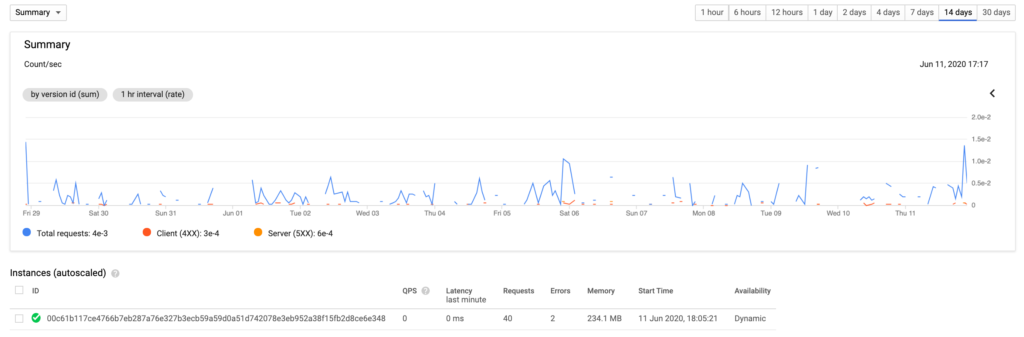
Google App Engine automatically handles scaling of your app so if nobody will use it – you will not pay anything. But if there will be increase of traffic – it will create new instances in order to be able handle the load.
Also each time you deploy the app after some updates in code – new version doesn’t overwrite the previous one. It just creates the new, but you still can switch back to the previous, or even split traffic between them.

So as you can see Google App engine really helps you to deploy your app fast without carrying about all these server configurations and so on. You can bring your ideas to life and share it with other people in a couple of minutes. I think that’s awesome!